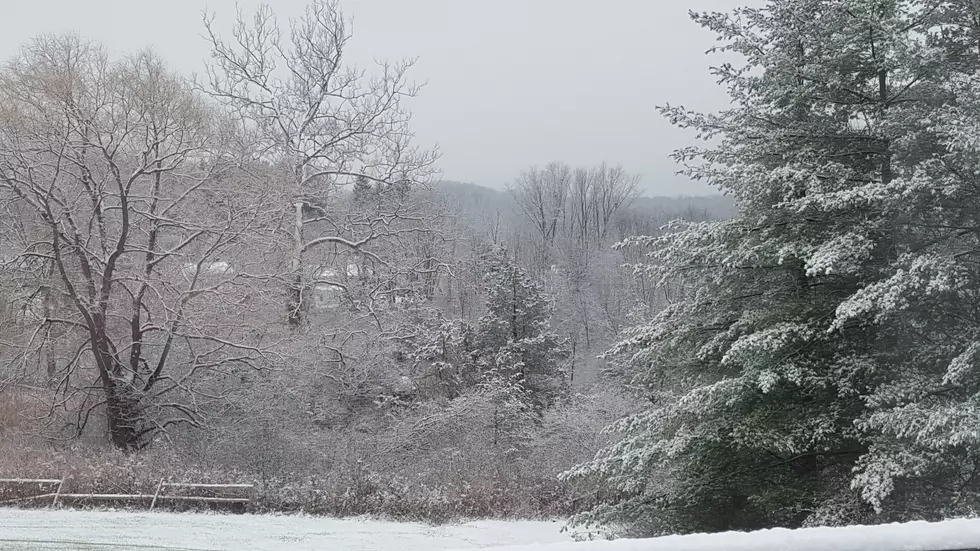
Pictures You Shared From Biggest Snow Storm of 2017
Winter Storm Niko left a bunch of snow for everyone to enjoy, or not, but several of our listeners took advantage of the event to share some photos with us.
It can cause havoc on the roads, and be pretty tough on our backs, you know all that shoveling, but a winters snow storm can also lead to some great pictures.
Our Kicks 105.5 listeners shared some of their photo's with us, check them out below. Plus our friend, Louis C. Hochman, who works at our sister station in New Jersey, loves photography and has put together some tips on how to take great pictures in the snow. Thanks, Lou!
How to Take Great Pictures in the Snow:
A huge portion of the time, the auto setting on your camera will work wonderfully. But a giant sheet of snow is one of those subjects that just confuses the heck out of the camera.
If my camera is confused, what hope do I have? The camera figures nothing in the picture should be so bright you can’t see it. It also figures nothing should be so dark that you can’t see it. So it takes a look at a scene, notices what’s bright, notices what’s dark, notices what’s about normal and tries to average things out. It also tries to make a best guess about the intensity and color of the light (which, even outside, varies depending on the time of day, cloud cover, the position of the sun, how much haze is in the air and a million other things).
It’s looking for normal, average tones, and we’ve just gone and thrown a big, blinding sheet of bright white snow in front of the camera. If it had hands, it would throw them up in frustration. “Way too bright! Way too white!” our anthropomorphised camera says. “I must need to make this darker! And blue-er! Everyone loves blue!”
We don’t love blue. So what do we do?
Don’t be afraid to get into your advanced settings: Whether you’re using an iPhone, a point-and-shoot, a DSLR or anything else, you’ve got more control than “auto” is giving you. Don’t be afraid! What’s the worst that can happen — it won’t look right? Your picture is already dark and blue. What else can go wrong?
Find the white balance option: We wish we could give you a one-size-fits-all setting here, but life’s not that simple (there are reasons photographers get paid the medium-sized bucks). White balance is measured in Kelvin, or “K.” The lower the number on your white balance setting, the blue-er the picture will be. The higher, the more yellow-ish. 5200-6500K is a pretty good starting point for mid-day with moderate sun. You might also see settings for “Daylight” or “Cloudy” — give those a shot.
Feeling a little … exposed? Actually, if your camera is in full-auto, you’re probably feeling a little under-exposed. If your shots are coming out a little dark, look for an option called “exposure compensation.” This should work whenever shooting in auto, or a semi-automatic mode (like a “program” mode). It’ll also work if you’re advanced enough that you’re comfortable shooting in one of the “priority” modes on your camera (if you don’t know what that is, don’t worry about it).
Can’t I just adjust this all on my computer or phone? Yes and no. You can make adjustments, and they may help — but edits to a JPEG file are “destructive,” which means entire cities will be leveled when you try. No! Not really. But it does mean that with each edit, you lose some detail — and the more severe the edit, the greater the chance of ruining the image.
If you would like to submit your photo's just follow the form here:
More From The Wolf